Wednesday, November 28, 2012

Getting back to living

I haven't much felt like posting anything lately. My mother passed away on August 27. The death certificate cited the cause of death as "Failure to thrive - adult." I think she just gave up trying to live. It has been a HUGE adjustment for me. I miss my mom every hour of every day. While I haven't really grieved, it is time for me to join the living again and get back into a routine.

I was supposed to be traveling today, and nothing was going right so I'm still home. Perhaps today will be a good day to begin cutting and sewing on the new Bonnie Hunter Mystery: Easy Street. There is a link to the mystery on my sidebar if you want to join the fun.

Having used up most of the greens and purples, as well as what little neutrals I had, in the quilt for Tajehra, it was necessary to go shopping. There is a store in Phoenix called Mulqueens. I was fortunate enough to shop on a day when all of their fabric was on sale. Here's what I purchased:

Blues:
Purples (I will also be using some purple scraps left over from T's quilt):
Greens (not all of these will be used in the quilt - I have plent of green scraps):
Black on Whites, Grey and some remnant red:
I may decided to use the red instead of the grey. I'll have to make a few sample blocks to see which I like best.

Miscellaneous fabrics also purchased:
We (my sister and I) stopped at the Goodwill thrift store on our way home and I found these fabrics. There is 4 yards of the green and 1 yard of the red.
All of these fabrics, each being at least 1 yard, together cost less than $100. A very good deal, don't you think?

Tajehra's quilt, "There's No Place Like Home," made from rebuilt log cabin blocks:
Back:


I also need to finish the border on Orca Bay. I lost the written instructions in the move... but a few weeks ago I found them saved on a flash drive. YAY! The border will become my leader/ender project with Easy Street.

Friday, July 27, 2012

Hospital Adventures

During the past several weeks, my mother's health has been rapidly declining. Her downhill battle started a couple of months ago when her legs started swelling. "Blood Clots" immediately came to mind and we took her to the emergency room. Nothing was revealed via ultrasound, so we follows-up with her doctor who diagnosed the problem as "veinous insufficiency," which apparently is very common in elderly patients. A diuretic was prescribed to remove the excess water from her legs. It appeared to be working well, although we had trouble keeping her liquid intake up.

Next came excess sleepiness and lots of bowell problems. She's always had bowell problems, so we thought nothing of this. And while she had been sleeping more, we attributed that to the Alzheimer's Disease (my grandmother also slept more as the disease progressed). It wasn't until she fell that the real cause of these problems was identified.

About two weeks ago, I had to call my brother over to help put my mom back in bed after she fell out. It was the next fall, one that happened in the morning - she apparently passed out - that landed her in the emergency room.

Immediately it was apparent to the attending physician that mom was dehydrated. Next they found her blood sugar was 570 (yes 570!! - high enough to put her into a coma) and a urinary tract infection. She was admitted to the hospital and each day we were told of something new that was problematic: e-coli (sepsis), acute kidney failure, and then the news nobody expects to hear.

Cancer. That word can be so frightening. The word never used to bother me, even though I knew certain cancers were in my family (my dad's line).

Mom has kidney cancer. They found a large mass a little larger than a grapefruit on her left kidney. The standard treatment for this type of cancer is removal of the kidney. However, she is not a candidate for surgery, given the Alzheimer's Disease and diabetes.

My sister and I speculate that the cancer may have started in her bowels and spread to her urinary system, and we also think it is in her pancreas (given the recent bout with high blood sugar).

Since coming home from the hospital, mom has been lethargic with zero appetite. She has not thirsted, so it has been difficult getting fluid and nutrition into her. Yesterday afternoon she woke up, walked around, sang, played the piano, ate well and drank a lot of liquid. Today she is back to being lethargic, etc. Perhaps yesterday was the last big hurrah?

I hate that I have to watch this disease ravage her body. I hate that the ugly C-monster has attacked so many family members and friends. I HATE CANCER!

Wednesday, May 30, 2012

Memorial Day Barbeque recipes

I didn't think the recipes should be included in the Memorial Day post. It would make my thoughts far too trivial. Instead, I am posting Memorial Day barbeque recipes here:

Satay
We used chicken, although I'm told this can be used with other meats too. It makes quite a bit of sauce, probably enough for 2 pounds of meat.

bamboo skewers
boneless, skinless chicken breast or thighs
1 medium sized onion
3 cloves garlic or 1 tsp. garlic powder
2 Tb. olive oil
2 tsp. turmeric
1 tsp. chile powder
1 tsp. cumin powder
½ tsp. salt
½ cup fresh lemon juice
½ cup brown sugar

Cut up your chicken into strips being about 1" wide.

Now you can either skewer the strips first then marinate, or you can marinate them now and skewer them later. If you choose to marinate first, you will need some gloves because the turmeric will turn your hands yellow and they will stay that way for several days! If you skewer them first, you need to make sure you don't marinate for longer than 2 hours because your skewers will dry out.

Put your skewers into water to soak at least 10 minutes before you skewer the chicken.

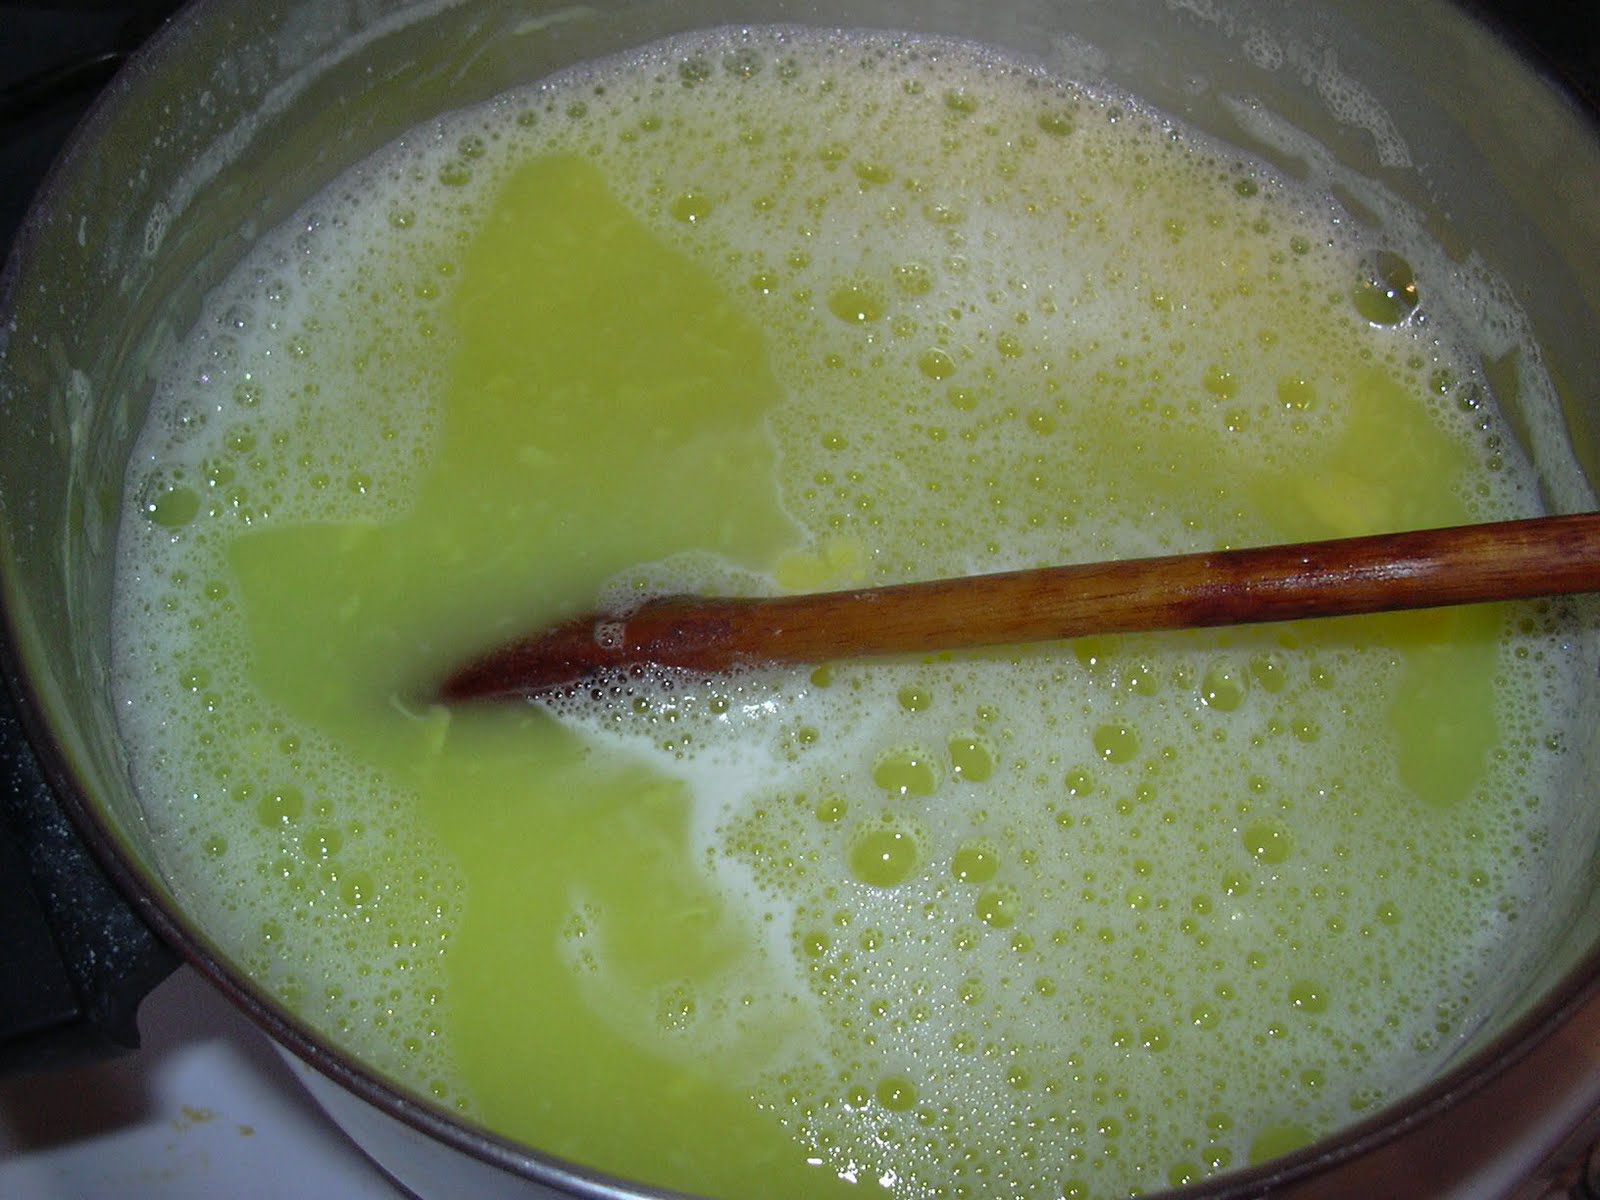
Peal onion and cut it into chunks, then put it in a food processor. Peel garlic and smash it with the blade of your knife and add it to the food processor. Add spices and olive oil and blend until a paste consistency is reached, adding more olive oil if needed. Transfer paste to a skillet or sauce pan. Add another tablespoon of oil (peanut, cooking, or olive oil) and cook over medium heat, stirring constantly, until mixture begins to bubble (about 3 minutes), then add the lemon juice and brown sugar. Cook for another 2 minutes. Cool. OPTION 1: Pour sauce over your chicken and stir so all pieces are covered, then let marinate in fridge for at least 2 hours or overnight, then put chicken on skewer. Place on foiled baking sheet. OPTION 2 (my preferred choice): Skewer chicken. Place on foiled pan, with sticks hanging over the side, and pour marinade over the chicken, turning skewers to make sure all chicken is covered. Cover sticks with wet paper towel. Let marinate in fridge for 2 hours.

Grill along side your burgers & hot dogs. Will take 2-3 minutes to cook.

Satay, in Asian countries where it originated, is served with a peanut sauce. I don't have a recipe for it, so you'll have to find that on your own. But I didn't think this Satay needed the sauce. It was scrumptious just the way it was!


Italian Pasta Salad
I meant to make this salad, but ran out of time. It is really good, so I hope you try it.

Salad:
8 oz. tortellini (I like the spinach tortellini, but you choose what you like)
3 oz. other pasta (bows, fettucini, whatever you have on hand)
2 cups broccoli, washed and cut into bite-size pieces
2 cups snow peas
2 cups sliced mushrooms
2 cups cherry tomatoes, halved
½ cup green onions, chopped (I use the entire onion - bulb and green end)
1 can olives, drained

Dressing:
1/3 cup red wine vinegar
1/2 cup olive oil (can use salad oil)
1 Tb. dried basil
2 tsp. dried oregano
1 Tb. dried parsley flakes
1 tsp. garlic powder
1 tsp. sugar
2 tsp. prepared mustard (dijon, if you have it, but regular mustard is fine too)
1 tsp. salt
½ tsp. pepper

Bring 2 quarts water to boil. Cook broccoli & snow peas for one minute. Remove them with a slotted spoon & rinse under cold water. Drain and place in bowl. Add pasta to the boiling water and cook according to directions on the package; rinse under cold water until cool. Add to the vegies. Add the rest of the salad ingredients and toss. Chill for several hours. Whisk together the Dressing ingredients until mixture is well blended. Pour over the salad, add freshly grated parmesan cheese (as much or as little as you like) and serve.


No barbeque is complete without homemade ice cream. My ice cream maker had trouble (the teeth on one of the gears are badly worn - I see a new machine in my future), so the ice cream didn't turn out as well as it could have. But, here are the recipes for some of the best homemade ice cream you will ever eat!

Aunt Veleen's Tutti Fruity Ice Cream

1 lg. package orange Jello
1 can crushed pineapple
2 Tb. lemon juice
4 ripe bananas, mashed
3 cups sugar
1 qt. whipping cream OR 2 cans evaporated milk
milk to the fill line

Place ingredients in the ice cream freezer can and stir well. Freeze as directed, then ripen, serve, and enjoy!*

You can make any variety of fruit ice cream with this recipe by changing out the flavor of Jello and the type of fruit used. For example, this recipe makes killer strawberry or strawberry/banana ice cream by substituting the orange Jello with strawberry Jello and using crushed strawberries or mixture of berries and bananas instead of pineapplie/bananas. Or do black cherry Jello with pitted cherries, or peach Jello with mashed peaches. Oooohhhh.... blueberry or jumbleberry or raspberry or apricot or..... I'm drooling just thinking about it.

Rocky Road Ice Cream
Fabulous recipe, and you can alter this one, too! Leave out the add-ins for plain chocolate, or add Reeses pieces, or crushed Oreo cookies, or... This makes 6 quarts of ice cream.

½ cup unsweetened cocoa powder
¼ tsp. salt
3 cups sugar
3 cups whole milk
1 Tb. vanilla extract
6 cups whipping cream
Commercially prepared chocolate milk to the fill line
1 large (12 or 16 oz.) Hershey bar, grated (or a package of mini chocolate chips)
3 cups miniature marshmallows
1½ cups chopped almonds

In a large saucepan, mix cocoa powder, salt, sugar, and milk. Stir over low heat until sugar and cocoa dissolve. Cool to room temperature. Stir in vanilla, salt, and whipping cream. Pour into ice cream maker and add chocolate milk to the fill line. Freeze as directed.* When freezer stops, stir in chcolate pieces, marshmallows and almonds, then ripen or serve soft.

*NEVER USE THE DIRECTIONS ON THE SALT BOX (I learned the hard way). ALWAYS FOLLOW THE FREEZING INSTRUCTIONS THAT CAME WITH YOUR ICE CREAM MAKER. The directions on my ice cream freezer say to sprinkle 1/4 cup of rock salt over every 2 inch layer of CRUSHED ice (crush ice with a hammer if you can't buy it already crushed). Fill using layer of ice, then salt, then ice, then salt, etc. until you are to the top of the freezer, adding more ice as water escapes through the drain hole. Directors for YOUR ice cream maker may be different. Freezing should take AT LEAST 20 minutes and NO MORE THAN 40 minutes to get a smooth creamy texture. If the motor stops prematurely, check to make sure no ice or salt is caught. If no ice or salt is present, then you've added too much salt and your texture will not be a good quality. The freezing process should only take about 3 cups of rock salt. TO HARDEN (RIPEN) THE ICE CREAM: Remove can from the freezer, being careful not to get salt water in with the ice cream. Remove the dasher, scrape the ice cream off and pack the ice cream firmly into the can. Put the lid back on and a cork in the hole. Remove ice from the ice cream freezer; save ice but drain off water. Place can in the freezer and repack with the saved ice, using 1/3 cup rock salt to each 2-inch layer of ice. Cover lid with ice & salt, then place a heavy towel over the top. Let sit for 30 minutes before serving.

Remembering those who serve our country

I was thinking about Memorial Day and what it means, and wondering just how many of my friends/relatives have served our country and how many of them lost their lives or were wounded. I could not think of anyone on my mother's side of the family who served in the military, other than my uncle who came home with a dishonorable discharge (Vietnam era). There are numerous people who have served on my father's side of the family, including my dad. He served in Korea as the clerk of a POW prisoner exchange camp. He traveled to Korea by ship, and it was while he was one the boat that the treaty was signed. As he put it in a letter to home: "They heard I was coming, so they hurried and signed before I got there." I don't know his exact duties, because he died in a car accident long before I was old enough to ask him about it.

There are many others on my dad's side--cousins, uncles, great uncles--as well as friends and children and spouses of friends who have served. I appreciate all of your service, especially those who were sent to the heart of battle and put at risk to life and limb to preserve freedom throughout the world, and not just "American" freedoms. As far as casualties, there are only two that I know of: The first was a great uncle who died at a very young age (18, I think) on a battle field in World War I. The other is my cousin's son-in-law Travis, who was wounded in Afghanistan and, after many, many surgeries (numbering close to 100), lost a leg. Of course, while not a casualty, one family member is a chaplain and has the difficult duty of reporting deaths of his soldiers to their families. That would be a difficult task!

I admire the courage it takes to go to war. I respect those who choose to serve. I pray for those who are currently off in far lands serving. I honor the families that let their loved ones (spouse, child, parent, or friend) leave, knowing the risks involved. You have my undying gratitude.

On Memorial Day, I did not honor those who served in a manner they deserved. I did not visit any grave sites, nor did I participate in any program, nor did I watch a show on TV giving appreciation to those who serve. I did not even display a flag (except the small flag pin I wore). Instead, I (like the majority of Americans) gathered with my family for a day of pleasure. In our case, it was movie and barbeque. I enjoy being with my family, and we had a great day, but I feel somewhat ashamed of myself. The best I did was think about servicemen that I knew and make a small contribution to the local VA hospital.

In the community where I was raised there was an annual Memorial Day parade. I went every year until they quit doing the parade. Unfortunately, I don't think many cities or towns do parades any more. We have turned Memorial Day (and many other of our "holidays") into a day/weekend of playtime without any thought for those who've made the ultimate sacrifice. But what do we expect in this age of "Me First" where people don't even respect themselves, let alone what others do for them. What is America coming to?

God help us.

Monday, May 14, 2012

Why cutting accurately is essential in quilting

I am in the process of making a quilt for Tajehra, who is graduating from high school this week and picked the colors of the quilt - purple and green. I pondered for a while on what pattern would best work with these colors and I finally settled on the Rebuilt Log Cabin. I made several practice blocks to see how the pattern would go together. Most blocks turned out well.

BUT, the more blocks I sewed, the more they seemed not to come together correctly - and this was before cutting and remodeling. I admit I am not perfect in my seam construction, but even for me these were just turning out bad.

I thought I was just tired when sewing or cutting strips, but it turned out my mat was warped (probably a result of the move and being in hot storage for a while). The strips cut close to the edge of the mat were straight, but the closer to the center, the more curved they became.

It is hard enough to get accurate seams with straight edges. It doesn't work at all with curved edges (unless you're seam is supposed to be curved). So, always strive to cut accurately, and if you're getting "elbows" in the fabric, check the fabric to make sure you folded it straight, and if it is then check the placement of the ruler you are using and if it is slipping while you are cutting. There are several good videos on You-Tube to show you how to get a straight fold and cut. Several ladies on the Quiltvillechat group also suggested using two rulers for cutting (one along the folded edge to but up against the ruler you cut against). If you're doing everything right and your straight line cut still comes out curved, it might be time to replace your cutting mat.
Now that the problem is fixed, I have cut all my strips and am back to sewing. Here are some picks of what my blocks will look like.


If you want to try this pattern, go to http://elaineadairpieces.blogspot.com/p/tutorial-scrappy-rebuilt-log-cabin.html href="http://elaineadairpieces.blogspot.com/p/tutorial-scrappy-rebuilt-log-cabin.html">. Elaine doesn't give exact strip lengths. With 1.5 inch width strips, the lengths for each color used increase by 1 inch (strip lengths are 1.5", 2.5", 3.5", 4.5", 5.5", 6.5", 7.5", 8.5", 9.5", 10.5", 11.5"). If you're using larger strips, increase strip length by the finished width of the strip (i.e. 2.5" width finishes at 2", so increase each strip length by 2 inches).

Have fun!

Saturday, May 12, 2012

Chili Blanco

I finally have the computer connected again thanks to my brother, who lives next door, giving me access to his wireless network. Can you hear me singing Oh Happy Day - the version at the end of the film Secretariat? I can't tell you how freeing it is to be able to come to the computer whenever I want and not having to rely on my sister letting me use her computer whenever I visit her.

Since it has been a while since I posted anything, I'm going to start with a recipe for Chili Blanco (white chili), which can be made entirely from scratch or, as I did today, take several short cuts and make it in about 10 minutes. And I apologize in advance for no photos, since I didn't know I was going to have computer access tonight!

Here's the long version. This makes enough to feed a large family.

To start with, you will need some black beans which have previously been cooked until soft. You'll need 3-4 cups of cooked beans, which means about 1 cup of dry beans to start with. Important - always use black beans. Other beans just don't give this chili the right flavor. If you haven't cooked beans before, the best way is to sort them (they sometimes have rocks and other dirt in the package), then rinse in cool water until clean to your satisfaction. Put the clean beans in a large saucepan and fill the pan with water. Soak overnight, then drain the liquid. Add about twice as much water as there are beans. Bring to a boil, then simmer for an hour or so until the beans are tender. Once they are tender, turn off the heat and let them cool. Then rinse thoroughly with cool water. Note: You can always make more beans and eat them in another meal (I like them in macaroni salad, made with ditalini, blanched broccoli, halved cherry tomatoes, black beans, and green goddess dressing).

In a large pot, place 1 chicken, 2-3 celery stalks, 1-2 carrots (slice or leave whole, peeled on unpeeled), 1 roughly-chopped onion, just enough water to barely cover the bird, and your favorite spices to make a delicious broth - I always just season with salt, pepper, and garlic powder. Bring to a boil, then turn heat down so it simmers until the chicken is tender and falling off the bone. Remove chicken, then strain broth to remove all vegetable bits. Now remove the bones from the chicken and cut up the meat into bite-sized pieces. Add the meat back into the broth. Add 1 cup instant powdered milk, stir and set aside.

In the pot in which you cooked the chicken (if your broth isn't already in it), saute 1 bunch of finely chopped green onions in a little olive oil. When onions are tender, add 1/4 to 1/2 cup each of butter and flour and make a roux. Then add the broth and chicken, at least two 12-oz. cans of chopped green chiles (or use fresh Anaheim chiles - use 4 or 5 - which have been roasted, peeled and chopped). Green chiles are generally mild, but sometimes can get a little firey if they weren't watered properly. You may want to add more or less of the green chilis, depending on how your tastes are. Add beans and season to taste with garlic powder, salt, and pepper. Cook over medium heat until thick. Then stir in 3 8-oz. packages of cream cheese. Keep stirring until the cheese is melted, but don't let the mixture boil. Turn off heat and serve. Yummy! We eat this with cornbread, but other breads/tortillas/crackers also work.


Here's the quick version, and this one only makes about 6 cups.

3 boneless skinless chicken breasts, chopped to bite sized pieces
3-4 green onions, finely chopped
2 Tb. olive oil
1-2 small cans of green chiles
2 cans condensed cream of chicken soup
1 can of black beans, drained and rinsed
garlic powder (about 1/8 tsp. - just a couple of shakes)
salt
pepper
1 8-oz. pkg. cream cheese

In a medium-large saucepan, saute the onions and chicken in olive oil until the chicken is no longer pink. Add the green chiles and soup, along with 2 soup cans full of water, and the black beans. Add garlic powder, salt, and pepper to taste. Bring to a simmer, then add the cream cheese, stirring until cheese is melted. Remove from heat and serve.

Monday, April 16, 2012

Not quite settled

I have no computer connection at home (yet), so am stealing some time on my sister's computer to type this.

We have finally moved into a house, but still have a million boxes to unpack. The house is small, and the rooms barely hold the furnishings that I didn't leave behind (yes, I left a large part of my household in the move. I felt very much like a pioneer having to choose what necessities to take and leaving nearly everything else). Still, I am faring far better than a cousin whose home burned to the ground last week and none of the contents could be saved. At least we are all alive and well!

As most of my kitchen ware and food is still packed, I have been limited in what I can cook and eat. My cupboards are full of spices and little else. I did make a run to the grocery store after a weeks, but in the meantime there was not much to go on. I had some rice and remembered (not so fondly) the 6 weeks I lived on nothing but rice and bottled cherries when I moved back from Washington D.C. many years ago. To this day I cannot eat cherries, but I have no problem with rice!

Along with the rice I found a can of sweetened condensed milk in the cupboard.
So here's what I made:

Arroz Con Leche (not the real way to make it, but if your supplies are limited...)

2 cups uncooked long-grain rice
About 5 cups water
salt
1 can sweetened condensed milk (like Eagle brand)
4 cups milk
1 orange peal (or is that peel? I never can remember)
cinnamon (optional)
dulce de leche (optional)

Put uncooked rice in a large pan. I don't measure the water. Add enough so the water is about 2 inches above the rice. Add a little salt. Bring to a boil and let boil until water is mostly gone and only rice with small bubbles of water here and there can be seen. Put the lid on the rice, turn off burner, and let rice sit/steam for 20 minutes. *Rice may not be completely tender. This is OK, since it will finish cooking when the milk is added.

Whisk together the sweetened condensed milk and milk. Pour into the rice and add the orange peal. Turn heat back on, bring to a simmer and cook for 15 minutes or until slightly thickened. Remove from heat. Serve plain or with with cinnamon or dulce de leche. Can serve hot, warm, cool, or cold.

Saturday, February 18, 2012

Some people are just sick!!!

I came home yesterday to an unhappy situation. My mother had been sexually assaulted. She was home alone for about 4 hours (typically my mother is practically joined at the hip with me and goes everywhere I go; I was feeling pretty fortunate to get some time away from her yesterday, but now I'm feeling a bit guilty for leaving her alone) - long enough for this dispicable crime to happen. I can't believe what goes on in the minds of some people. SICK! Why would anyone do that to an old lady with Alzheimer's disease? Or for that matter, why would anyone do that to anyone?

After 1.5 hours talking with the police, we left them to collect evidence at the house and went to the hospital. We spent nearly 8.5 hours in the emergency room last night, half of that time with the rape crisis people, performing their very detailed examination.

One good thing about the advanced stage of Alzheimer's disease where my mother is at, she doesn't remember it today. And I hope it stays that way in her mind. The rest of us have to live with the unease of knowing some depraved person did this and is on the streets, perhaps doing it again to someone else.

Oh this sick and depraved world! What are we coming to?

Thursday, February 2, 2012

Orca Bay is coming along

At last the top is coming together without having to pick out seams. Here it is without the borders (those just might have to wait until I get to Arizona next month). While I absolutely LOVE Bonnie's layout of Orca Bay, I opted for an alternate design. After looking at the original design layed out on the bed, one of my girls said the quilt was "too busy" and it made her feel dizzy (and I wouldn't want it to cause a seizure!). But I do think I will try this pattern again as originally designed, but with different colors and less busy fabrics.

Friday, January 27, 2012

Cleaning up is hard to do

... especially after nearly 23 years of calling a cubicle "home." Okay, so I haven't been in this same cubicle all that time, but I have been here for at least 10 years. And you can collect a lot of stuff without even realizing it... old bills and receipts that were brought to work because I didn't have time to take care of them at home, CD's and CD player, toothbrush, toothpaste, curling iron, brush, makeup, odds and ends of food, stuff to eat the food with, assorted mugs and cups, pictures, nick-nacks, plants, jacket, wrapping paper ... and the list goes on and on. And I thought I had a lot of junk to go through at home before making the big move. Now I realize most of it isn't at home at all; it is at work - my true home. Thank goodness I have a whole 'nother five weeks to get my stuff sorted and out of here!

For some reason I keep hearing Neil Sedaka singing "[Cleaning] up is hard to do."

Monday, January 23, 2012

Decisions, decisions

I finally, after considering my alternatives for nearly a year, made the tough decision to leave my employment and move to Arizona. This decision was especially difficult considering I have been employed with the state of Utah for nearly 23 years, and leaving means no paycheck, no retirement, no insurance. And that's just a small part of what needed (and still needs) consideration.

My mother's mental health has been declining for years. She is at a point where she has difficulty remembering how to do the simplest things. The move will allow me be closer to two of my siblings and many nieces and nephews, who, I anticipate, will help me from time to time with my mom.

Over the next six weeks, I will need to dejunk my house and determine what I need to take with me and what can be sold, given away, or thrown out. An intense cleaning of the house will begin ASAP, and it will be put on the market this week. Hopefully it will sell quickly.

Another decision I made, not quite as difficult as the move, was what to do with the Orca Bay layout. I took a recommendation from I can't remember who (thanks quiltvillechat ladies for all your input!) that I needed a larger layout than just a few blocks to get the real picture of what might look the best. While the dark blocks looked great on a small scale, I couldn't see the design when they were laid out large-scale. So, I'm keeping the light & dark star blocks in the quilt. And, I'm going with the light stars where Bonnie put the dark ones. The top is half-way sewn. I hope to finish this week before I'm in the thick of house-cleaning. A picture of the finished top will be posted soon!

Since one of my goals before the move is to use as much food storage as I can, so I'll have less to move, I'm going to provide some recipes for using those items.

Blender Wheat Pancakes or Waffles:

In your blender, combine 1 cup wheat with 1 cup milk. Blend until a batter forms (about 5 minutes - batter will be thick). Add in 2 tsp. baking powder, 1/2 tsp. salt, 1 Tb. honey or sugar, 1 Tb. oil, and 1 egg. Blend until mixed, adding a little more milk if batter is thicker than you like it. Heat griddle or waffle iron. Cook as any other pancake or waffle recipe.


Homemade Syrup:


I really like making berry syrup, but if you don't have the berries, just make maple syrup.

1 cup light corn syrup
2 cups sugar
1 cup water
1-2 cups berries (depends on what I have as to how much I throw in)

Bring to a boil. When berries are soft, mash them up (or blend them before you start). Add 1 Tb. maple flavoring (I use Mapeline). Syrup is ready to use. Strain if you want, but I don't mind chunky syrup. Keep any leftovers in your refrigerator, and use up within 2 weeks.


Fresh Fruit Smoothes:

I keep a good variety of fruit (thanks to Bountiful Baskets) in my freezers (we have 3 freezers - so yes, I need to get those cleared out too!). I have bananas, mangos, pineapple, peaches, apricots, blueberries, strawberries, blackberries, raspberries, and kiwi. I even have bags of fruit combinations ready to go. I just pull out a bag and go with it.

Now for the recipe:

2-3 cups frozen fruit
1 cup yogurt (doesn't matter if it's plain or flavored)
2 cups orange juice OR milk (or you can mix them)

Blend until smooth and pour into several glasses. Enjoy!

Thursday, January 12, 2012

Orca Bay decisions

Since I had to unstitch my rows, I decided I would arrange blocks again to see how I liked alternate layouts. Here are my choices. I'm leaning toward stars with all dark backgrounds, which means I'll need to make more hourglass blocks and cut a few more dark squares, but that's okay. And if I go with the all-black stars, then I'm wondering if I should put a blue square in the middle of the new ones (so the X will be complete). I don't like the all-white block design. The other two are okay.

I'm a pickin' and I'm a grinnin'

Do you remember Hee Haw? That's where pickin' and grinnin' comes from. But that isn't what this post is about.

Last weekend I sewed three rows together of Orca Bay (it looked like only a single row of blocks, but really it was three rows). I went to add another row onto the first last night and realized that, as I laid it out on the bed to make sure the blocks were where I wanted them to be, I had placed my blue string blocks in the wrong direction (and I had already taken them out once because they were wrong). So I was pickin' out stitches late into the night.

But now that everything is back to the building blocks, it gave me a chance to play with layout. Not sure which I like better. I'm trying to keep in mind that this quilt is likely going to Brandon, my sister's grandson who graduates from high school this year. But if it looks too feminine, it will go to Tajehra (pronounced tee-air-ah), my sister's granddaughter who also graduates this year (I'm also making a Winston Ways quilt - so we'll see who gets which one when I'm finished).

Here is the original layout:

Here is the alternate layout:

Not sure which I'm going to do at this point.

As for the grinnin', I helped my Mom make 18 loaves of bread (yes, 18!) on Tuesday. Six each of white, wheat, and half and half. Then I had to find freezer space for them! But aren't they beautiful? Wish you could smell them - nothing better than the smell of hot bread coming out of the oven.

I can't publish the recipe, because my Mom insists on keeping it a secret (she used to earn her living by making bread for people).

Have a great day, everyone!

Saturday, January 7, 2012

Making Laundry Soap and Other Household Products

When I was a little girl, I often helped my Grandma make laundry soap (and bar soap, too). Her recipes and methods included washing saved bacon grease, mixing the clean lard with lye and other ingredients, and stirring for what seamed like hours. Today I made laundry soap, and this method takes only 15-20 minutes, and does not involve bacon grease or lye.

Easy Homemade Laundry Soap (liquid)
This recipe makes 5 gallons, and you'll need a 5 gallon bucket for mixing. You can find the ingredients in most Walmarts and some grocery stores (laundry isle) for just a few dollars. My cousin recommends mixing in a container of your regular liquid laundry soap because it helps prevent "washer stink." I concur, it also cleans your laundry a bit better and keeps the homemade stuff a little more on the liquid side.

1 bar Fels Naptha Soap
1 cup Borax
1 cup Washing Soda (NOT baking soda)

Grate the Fels Naptha bar. I use a food processor. Kind of looks like grated cheese, doesn't it?

Put grated soap in a 4-quart pan and add enough water to cover. Melt the soap over medium-low heat until it is desolved.

Add the borax and washing soda, stir until dissolved. Pour mixture into a 5-gallon bucket and fill with hot water. Stir. If you're adding in a bottle of commercial liquid soap, add it now, and stir again.

Your laundry soap is now ready to use. 1/4 to 1/2 cup per load. You can keep it in the bucket (put a lid on it) or you can pour it into empty bottles. Because the soap gels, you need to stir or shake it before each use.

We poured ours into empty bottles.

All of these bottles of laundry soap cost me about $2 total(well, $4 if I count the cost of the commercial laundry detergent I added in). This really saves me a ton of money! And it lasts forever, too.

Fels Naptha costs about $1 a bar (I paid $0.88/bar at Walmart and $1.09/bar at my grocery store). Washing Soda and Borax, depending on the size and where you buy them, cost $3-$4 each.

So now you want to know how to make old fashioned granulated laundry soap, right? Well here's the recipe my Grandma used.

The day before you plan to mix the soap, wash the grease. Use twice as much water as grease and boil 15 minutes. Remove from heat and fill kettle with cold water. Let stand until firm (clean lard rises to the top and impurities will settle on the bottom). Make hole in set grease on opposite sides, then run a knife between the kettle and the grease all around the perimeter. Lift grease out; put into another pot and repeat process. When cooled the second time, drain off water. Melt the grease and strain. Now you're ready to start the soap process.

In a gallon glass jar, dissolve 1 can lye into 2 quarts plus 3 cups waterr. Add 1 cup clorox and 1 cup borax. Cool until outside of jar is just warm. Mix 2 tsp. citronella into 2 quarts melted grease. Cool till warm to touch, then pour into lye mixture which you have placed in a large enamel pan (lye eats aluminum). Be careful around the hands and eyes! Using a wooden spoon, stir constantly for 15 minutes, then stir every 15 minutes until mixture is well granulated (the more you stir, the more granulated it becomes).

As long as I'm sharing household recipes, here are some I can't live without:

Window Cleaner

1 pint rubbing alcohol
1 Tb. ammonia (non-sudsing kind)
1 Tb. liquid dish soap
1 gallon water

Mix together in a bucket, then pour into several spray bottles. Use just like windex. *When I was a teenager, I washed windows for a widow on my street, who always used this recipe. And she had me wipe the windows with wadded up newspaper. The combination of the cleaner and newsprint really makes those windows shine! I still use newspaper when I'm washing windows.

Plant Food
This recipe will turn anyone's thumb green! It comes from my Aunt Veleen who says "Don't use more than once a month for watering plants or leafy ones will crowd you out and blooming ones will bloom themselves to death!" Aunt Veleen's home could be mistaken for a tropical paradise.

1 tsp. baking powder
1 tsp. epsom salts
1 tsp. salt peter (get this at Lowes or Home Depot)
1/2 tsp. ammonia
1 gallon tepid water

Mix and water plants. Store unused plant food in a jar with a lid, out of reach of children.


Have fun trying these thrifty recipes!

Wednesday, January 4, 2012

Ironing Board Covers

I've read a lot about using a pad and/or a cloth on your ironing board, in addition to the cover that is already there, especially when using starch. I believe this is a good idea. My old cover wore out after 2 weeks of starching quilting strips.

I just purchased a new cover and already it looks like this (and this is after a thorough washing):

So my question is, what do you use to cover your board when you starch so you don't have to replace the cover every few weeks?